Video can be costly when you don't know what you're doing.
That's not to disparage anyone who's trying to implement video into their marketing; it's just a fact. When you go into video blind, you can easily spend too much time and allocate too many resources into a video project, and still end up with a video that you can't use.
In my experience, it's critical to follow a marketing video production process from the very start. With the right method, you can check off best practices and produce a high-quality video, without blowing up your budget.
Establishing A Marketing Video Production Process
Before I share my preferred video production process, one caveat. Over time, your video process should evolve. Because even with a good process, you'll need to make adjustments based on your team and their experience. However, these recommendations can certainly get you on the right path and moving in the right direction.
1. Create An Overarching Strategy
Your video projects should go hand-in-hand with your website and inbound marketing strategies and goals. Because when you create videos that support the user experience on your site, and also provide content to bolster blog posts, social media, and nurturing initiatives, you can create a system for creating videos that serve more than one purpose.
You can also connect videos to your areas of core expertise, and start building out a more robust blog or resource center for your customers and leads.
2. Make Critical Decisions About In-House vs. Outsourcing
One of the most important decisions you can make about your video production process is what you’ll tackle in house, and what you will outsource. I’ve seen a lot of teams try to do too much themselves at the beginning and either burn out or make subpar videos.
I recommend taking a hard look at your team, your skill set, and your budget, and asking:
How much money do you have to spend on video?
What areas of the process can your team realistically do?
How long will it take for your team members to brush up on their skills?
Deciding these things upfront (and sticking to these, for the time being), will help you figure out a process that works for you.
Another consideration is whether or not you’re willing to sacrifice quality while your team is learning how to produce videos for the first time. Unless you have someone in-house that’s a great video editor, for example, I would consider outsourcing that from the start. Otherwise, you risk producing less than ideal videos while they grow.
3. Build An Outline + Plan For Distribution
After you know who will be doing what tasks, you want to make a format or template for your script. I recommend doing this before you write your first script. You can run the template by your team and any stakeholders, which will save you a ton of time in editing later.
You also want to establish a plan of how you're going to repurpose and distribute your videos. While this may not seem critical at this step, if you know exactly how you plan to edit your video for Facebook vs. YouTube, for example, you can make sure you get all of the footage you need upfront.
For example, you can split a 10-minute video into shorter Facebook and LinkedIn videos, but each video still needs to make narrative sense. The key is planning to cut the video later so that you can get the exact quotes and snippets for those channels.
4. Choose A Host And Write A Script
When choosing a host, go with someone who is comfortable being on camera. Forcing someone who does not like being in front of a camera never turns out well. You can also choose someone who wants to learn to be better on camera. They may be a little awkward at first but can work on improving.
Whoever is hosting or narrating your video should write the script, similar to how the writer of a blog post should outline it. Your script should have a clear introduction (how the video will kick off), a plan for any examples or on-screen walkthroughs, and fixed points to help guide the viewer through the video.
And when it comes to how detailed the script should be, it’s up to you. I tend to keep scripts minimal, but I also tend to spend more time in editing. The more detailed the script is and the better you prepare, the more likely it is that you will spend less time in the editing room. It's just like when you create a detailed outline for a blog post.
5. Storyboard And Set The Scene
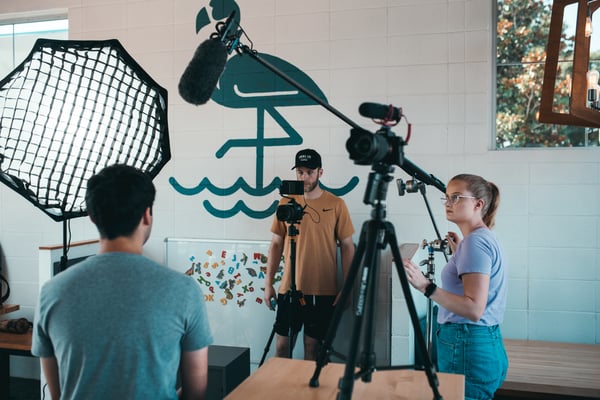
Another critical step before shooting a video is setting the scene and planning the shots you want to take. I went to film school, and trust me; you do not want to skip this part. It’s difficult, and often, for example, impossible to edit a poor or awkward background.
You’ll want to determine the space you will use, the background, the lighting, and your microphone. I’d also recommend doing a few test shots.
When you have a video to shoot, also listing all of the types of shots you want to get is critical. A storyboard can be as simple as stick figures, but showing how close you want the camera to get and what should appear in the frame will help during shooting, whether you do the filming in-house or send it to an outsourcer.
6. Shoot The Video And Organize Footage
After you have an approved storyboard and script, you can shoot your video. When you have these things to work from, the shooting process is fairly easy. All you need to do is follow the script and the storyboard, and go with your gut. If something feels awkward, re-record that section. I tend to take more footage than I need, and this has always paid off.
When you upload the final footage, ideally, you’ll also organize and name the files and clips clearly. This will prevent a ton of confusion later. For example, you should label and date any clips meant for FB and LinkedIn.
7. Edit And Refine Video
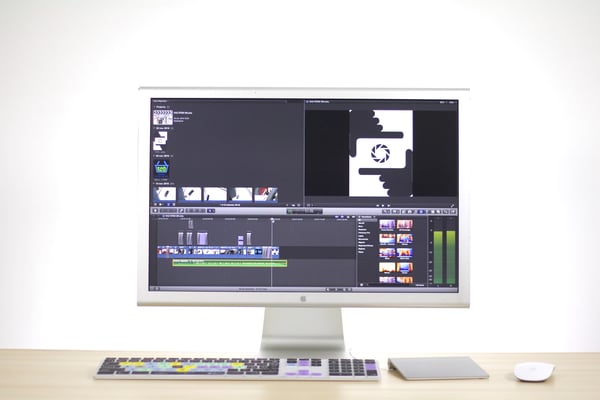
Once you have your footage, edit and refine your video. Again, if you labeled your footage and followed the script, this part is pretty easy. All you’ll need to do is check the audio, edit out any long pauses, and add a title card or opener. You will also want to add a clear next step or call to action toward the end of the asset.
Ideally, the host would talk about the next step or CTA at the end of the video, but you can also add a visual CTA indicating where you want the viewer to go next. At the very least, you should have some kind of title or conclusion.
Getting The Most From Your Marketing Video Production Process
Whenever you make a video, you’ll learn something new about your process. And the more you can incorporate those insights into your video production process, the better your videos are going to be. It’s all about continuous improvement. If you’re invested in video for the long-term, it’s definitely worth doing.
Additionally, once you master a video production process, you can add additional steps to it. For example, in addition to creating assets for LinkedIn and Facebook from your footage, you can also repurpose your video footage for other channels. This ensures that you’ll get the best possible ROI from video, and most importantly, gives your customer the right content, on the right channel.


